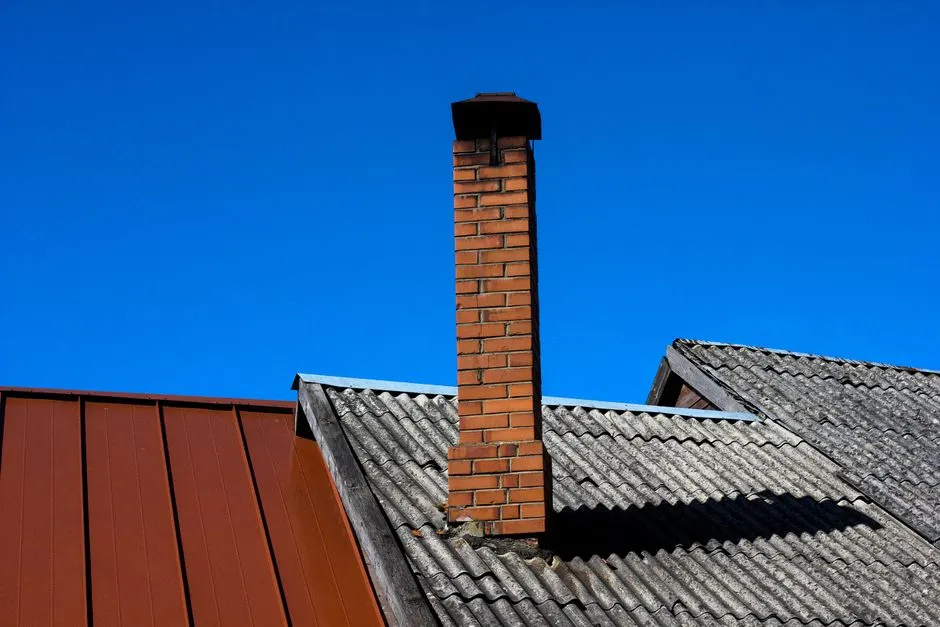
Sealed, code-correct flashing before the next storm hits
Chimney flashing repair in Heber City, Utah that stops the leak
Chimney flashing repair in Heber City, Utah is what stands between your ceiling and the next snowmelt. If you have a brown ring spreading on the drywall or a rust stain running down the firebox, the flashing joint has failed. We pull the old metal, rebuild the seal with new flashing and counter-flashing, and water-test it before we leave. One call, one dry chimney.
Live phone supportUpfront optionsBacked workmanship
What's included
What our flashing repair includes
Every flashing repair covers the full joint, not just the visible metal. If we find a related problem while we are on the roof, we tell you and price it before doing the work, so nothing gets added to the bill without your say-so.
Roof and attic inspection
We inspect from both sides, using an inspection camera in the attic to trace where water is actually entering. You get photos of the failed joint and a clear explanation of what caused it. This step is included on every repair call.
Removal of old flashing
Old step flashing, counter-flashing, and failed sealant come off completely. We lift the surrounding shingles carefully so they can be reset, and we grind a clean reglet into the masonry with an angle grinder so the new metal seats properly.
New flashing installation
New step flashing is woven into the shingle courses and new counter-flashing is set into the reglet. We bend pieces on site with a flashing bender so the fit follows your chimney exactly. Stainless and copper upgrades are available for longer service life.
Sealing and water testing
The joint is sealed with a masonry-rated polyurethane or butyl sealant, then water-tested at the chimney while we watch from inside the attic. If a drop gets through, we find it and fix it before we pack up. The test is part of the job, not an extra.
Roof cleanup and written summary
We clear every scrap of old metal, sealant, and debris from the roof and gutters. You get a written summary of what was replaced, what condition the crown, cap, and mortar are in, and what to keep an eye on next season.
Service overview
What chimney flashing repair in Heber City, Utah actually fixes
Chimney flashing repair in Heber City, Utah is the work of rebuilding the watertight joint where your chimney passes through the roof plane. That joint is layered: step flashing woven into the shingles, counter-flashing set into the masonry, and a sealant or reglet detail tying the two together. When any layer lifts, cracks, or corrodes, water runs straight down the chase and into the attic. We remove the failed metal, cut a clean reglet into the brick, and set new flashing so the layers overlap the way the International Residential Code (IRC) requires.
Most of the flashing failures we see in Heber Valley start with ice. Snow sits against the chimney, melts, refreezes, and pries the metal away from the masonry a fraction of an inch at a time. Add UV baking in July and the sealant shrinks. By the time you notice a chimney water leak, the damage has usually been running for two or three seasons. That is why we treat flashing as a system, not a bead of caulk. If you have been searching chimney flashing repair near me Heber City, this is the job we do every week.
How we workWe verify the cause, compare realistic options, and confirm the repair before we leave.
The service timeline
How our flashing repair process runs
The process flexes to the condition, but these checkpoints keep decisions clear.
Roof and attic inspection
We start on the roof and finish in the attic. An inspection camera lets us trace where water is actually entering, not where the stain shows up. We check the flashing layers, the chimney crown, the cap, and the mortar joints in one pass. Expect 30 to 45 minutes for the assessment, and you get photos of everything we find.
Written scope and price
You get a fixed price before we touch the roof. If the flashing is the only problem, the number stays small. If we find a cracked chimney crown or a damaged chimney liner feeding the leak, we tell you and price it separately so you can decide. No surprise line items at the end.
Tear out the failed flashing
We lift the shingles around the chimney, pull the old step flashing and counter-flashing, and grind a clean reglet into the brick with an angle grinder. Old sealant and rusted metal come off completely. This is the step that separates a repair that lasts from a smear of caulk that fails by spring.
Install new flashing
New step flashing gets woven into the courses, counter-flashing gets set into the reglet, and the joint is sealed with a polyurethane or butyl sealant rated for masonry. We bend custom pieces on site with a flashing bender so the fit is tight against your chimney, not a generic piece forced into place. Most installs take two to four hours.
Water test and cleanup
We run a controlled water test at the chimney and watch from inside the attic. If a drop gets through, we find it and fix it before we leave. Then we clear the roof of every scrap of old metal and sealant, and walk the gutters. You get a written summary of what was replaced and what to watch for.
Tools & methods
Tools and methods we use
Purpose-built equipment, used by trained technicians, so the job is done accurately the first time.
Inspection camera
Lets us trace water from the attic side and confirm the actual entry point before quoting. It is how we avoid replacing flashing when the leak is really coming from the crown or liner.
Flashing bender
We bend step flashing and counter-flashing on site so each piece follows the exact contour of your chimney and roof pitch. Custom-bent metal seals better than a generic piece forced into place.
Angle grinder
Cuts a clean reglet into the masonry so counter-flashing seats into the brick instead of sitting on top of it. A proper reglet is what makes the joint watertight.
Masonry trowel and jointing tool
Used to repair deteriorated mortar joints around the flashing line before new metal goes on. Solid mortar gives the flashing a sound base to seal against.
Chimney brush and rods
Clears creosote buildup and soot from the flue when a sweep is part of the visit. A clean flue lets us inspect the liner for water damage at the same time.
Smoke test equipment
Confirms the flue is drafting correctly after repairs. If a stuck damper or smoke backdraft is part of the problem, the smoke test shows it before we leave.
Use cases
When to call for flashing repair
These examples show how the service framework adapts rather than forcing every call through one repair.
Rusted flashing in Timber Lakes
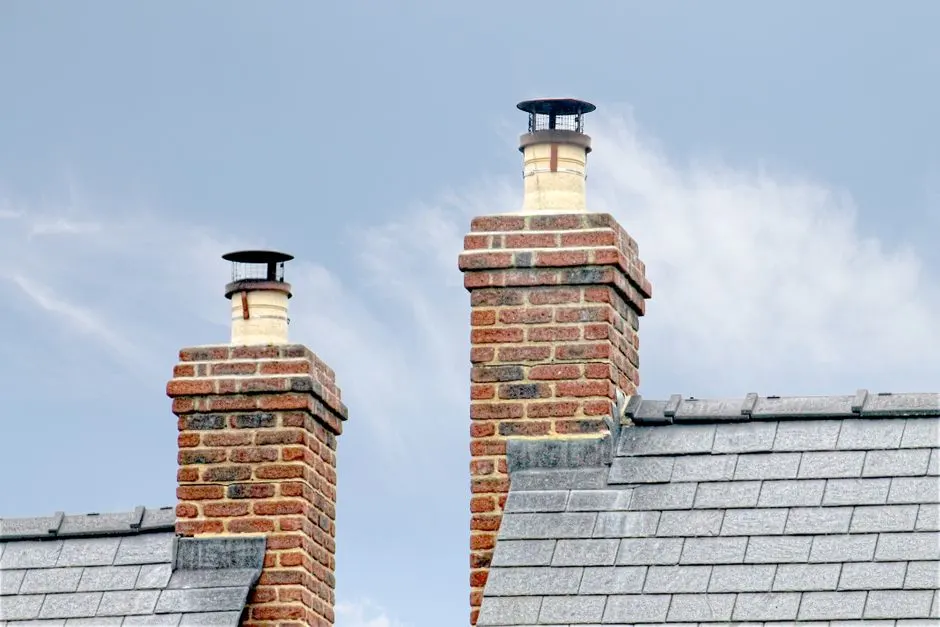
A Timber Lakes home had painted steel flashing that had rusted through after eight winters. Snow sat against the chimney for months, and the sealant was completely gone. Water was dripping into the attic and staining the framing. → We removed the rusted metal, repaired two deteriorated mortar joints, and installed custom-bent copper step flashing and counter-flashing. The job took five hours and cost $1,150. The joint has held through a full winter of ice damming with no leaks.
Storm damage in Red Ledges
A spring storm tore the flashing loose on a Red Ledges home and water started coming into the fireplace. The homeowner called on a Friday afternoon with an active leak and no idea where it was entering. → We came out the same day, tarped the chimney to stop the water, and confirmed the flashing was the source with an inspection camera. The permanent repair was done the following Monday with new stainless flashing. Total cost was $890, and the fireplace stayed dry through the next storm.
Problems we solve
Chimney flashing problems we fix in Heber City
Flashing failures show up in a handful of predictable ways. Here is what we see most often on Heber City roofs, what happens if you leave it, and how we fix it.
Water staining on the ceiling near the chimney
We trace the entry point with an inspection camera, confirm the flashing is the source, and rebuild the joint with new step flashing and counter-flashing. Most ceiling-stain jobs are finished in a single visit, and we water-test before leaving.
Rusted or lifted flashing metal
We remove the failed metal, grind a clean reglet, and install new flashing in stainless or copper. Those materials outlast painted steel by decades, which matters when your chimney faces snow load every winter.
Failed sealant at the flashing joint
We do not just re-caulk. We rebuild the joint properly with layered flashing and a masonry-rated sealant, so the repair does not depend on a bead of caulk holding back water.
Ice damming against the chimney
We install flashing with the correct overlap and fastening for snow country, and we check the crown and cap while we are up there. If ice damming is severe, we will tell you what roof-side improvements would help.
Pricing process
What flashing repair costs in Heber City
$350 - $1,200 depending on scope
Chimney size and shape
A wide chimney with multiple roof planes needs more flashing and more labor than a narrow one on a single plane. Custom bends for an unusual shape add time. This is usually the biggest single driver of the final price.
Roof pitch and access
Steep roofs need more safety setup and slower work. A chimney on a low-slope roof with easy access is a faster job. We factor access into the quote so there are no surprises on the day.
Flashing material
Painted steel is the cheapest and fails fastest. Stainless and copper cost more up front but last decades in Utah freeze-thaw. We quote both options so you can decide based on how long you plan to stay in the home.
How much does chimney flashing repair cost in Heber City Utah?
Most chimney flashing repair in Heber City, Utah runs $350 to $1,200 in 2026, with the average job landing near $650. Small step-flashing repairs sit at the low end. Full chimney flashing replacement with custom-bent copper or stainless, a new reglet, and counter-flashing runs higher. Roof pitch, chimney size, and whether the shingles need to be lifted all move the number. You get a fixed price before we start.
Why is my chimney flashing leaking in Heber City?
Ice is the usual culprit. Snow piles against the chimney, melts, refreezes, and works the metal loose from the masonry a fraction of an inch at a time. UV exposure then shrinks the sealant, and the joint opens. Failed sealant, rusted flashing, and missing counter-flashing are the other common causes. We trace the entry point with an inspection camera before quoting the repair.
Can chimney flashing replacement stop roof leaks in Heber City Utah?
Yes, when the flashing is the source. Flashing failures cause the majority of chimney-related roof leaks we see in Heber Valley. If the leak is coming from a cracked chimney crown, damaged chimney liner, or failed mortar joints instead, replacing the flashing alone will not stop it. That is why we inspect the whole chimney before recommending a fix.
How long does chimney flashing repair take in Heber City Utah?
Most repairs take two to four hours on site. A straightforward step-flashing repair can finish in 90 minutes. A full chimney flashing replacement with a new reglet and custom-bent metal usually runs four to six hours. We schedule the work so the roof is never left open overnight, and we water-test the joint before we leave.
Related services
Other chimney services we handle
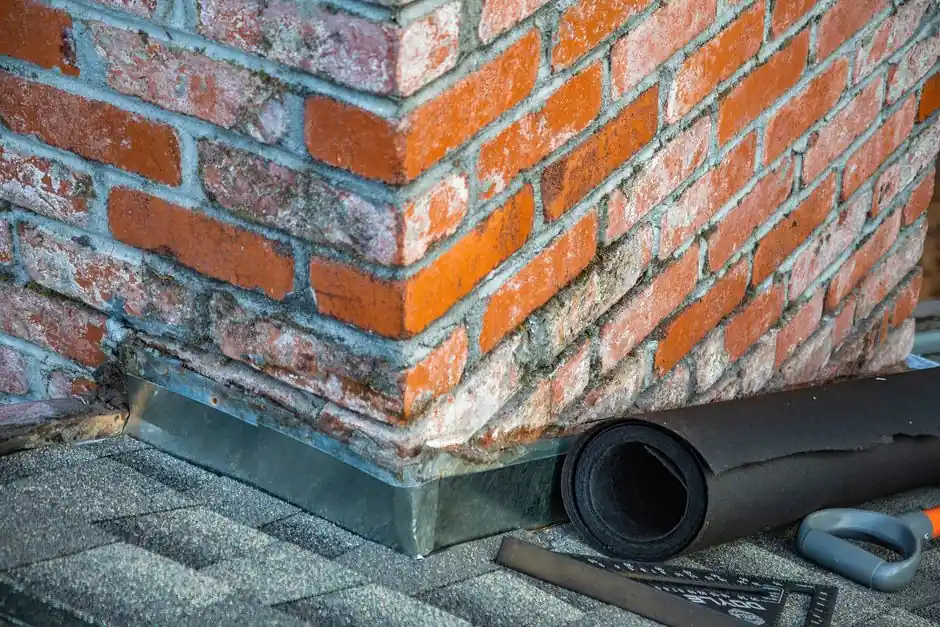
Chimney Repair Near Me
General chimney repair covers everything from loose brick to a stuck damper. If your flashing repair turns up a second problem, we can usually fix it in the same visit instead of booking a return trip. One call handles the whole chimney.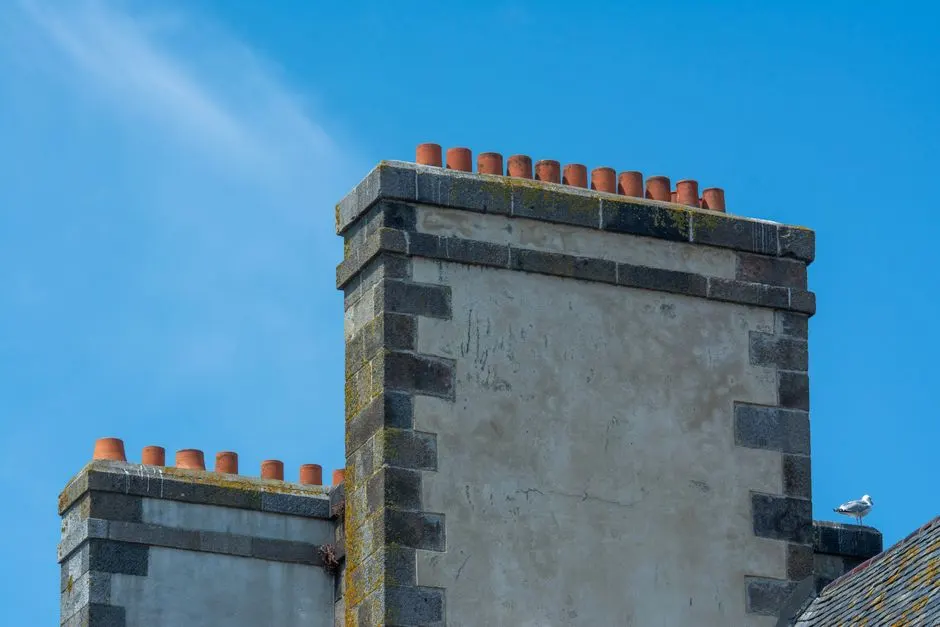
Chimney Masonry Repair
Flashing sits in a reglet cut into the brick, so the masonry around it has to be sound. If we find spalling brick or deteriorated mortar joints at the flashing line, we repair the masonry first so the new metal has something solid to seal against.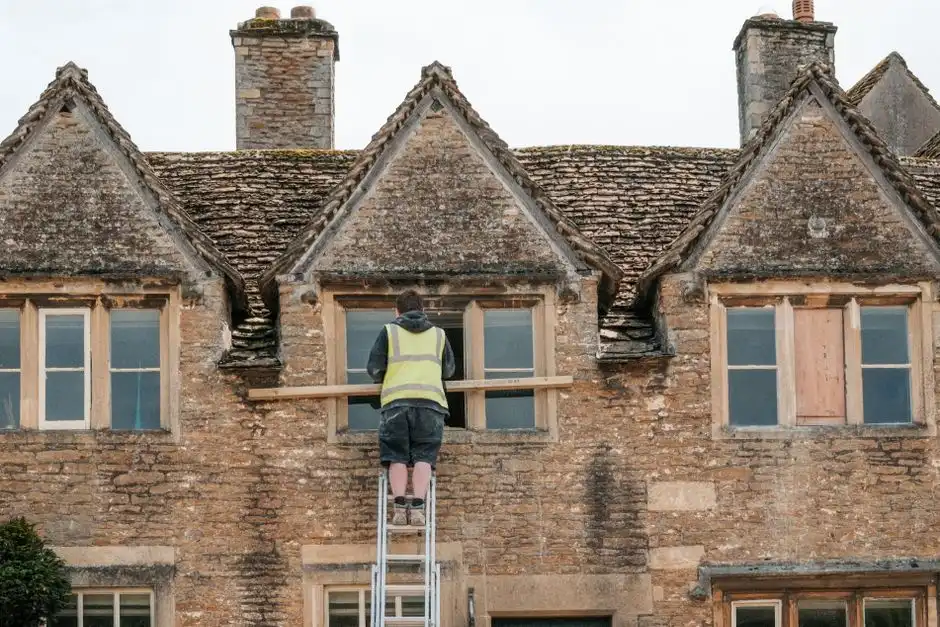
Chimney Crown Repair
A cracked chimney crown lets water into the same chase the flashing protects. Crown cracks and flashing failures often show up together. We inspect both and repair the crown with chimney crown mix when it is the source of the leak.Ready when you are
Get chimney flashing repair in Heber City, Utah this week
A leaking flashing joint gets worse every freeze-thaw cycle, and the repair only gets more expensive. Call (855) 927-7517 for a same-day inspection and a fixed price. We are licensed, insured, and we water-test every joint before we leave the roof.
Talk with the local team
Request Chimney Flashing Repair
Call us at (855) 927-7517 or email info@halewoodpoint.com. We answer the phone during business hours and we have a 24/7 line for emergencies. If you leave a message, we'll call you back the same day. We serve all of Heber City and the surrounding valley.